MB Wooden Railways
A different approach to wooden railways
Welcome to MB Wooden Railways, which is part of a larger site concerned with Miniature Buildings . It discusses aspects of Brio (and compatible) railways and my own, not entirely usual, approach to them. For my other articles on the subject please go to Railways Articles
Lifting Bridge
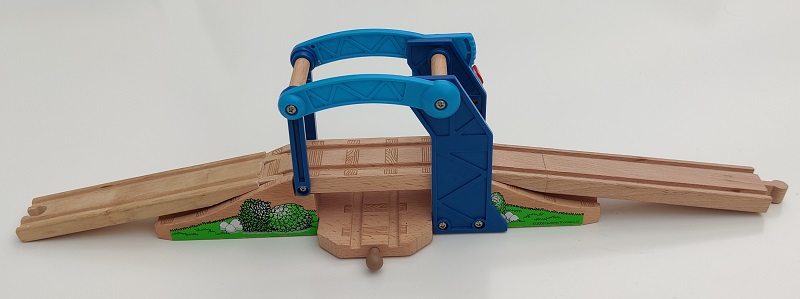
As well as a scratch built layout I also have (for the grandchildren of course) an extensive collection of Brio and other compatible track and associated items. One of these, from the Thomas brand I believe, is a lovely little lifting bridge. But.... I guess it works well if your children are playing the original games, pushing little trains by hand around a small track. However, most of the time my grandchildren use the battery powered engines. These find the angle at the top of the slope where it meets the bridge itelf to be too sharp. They can climb the little slope but get stuck on the transition point.

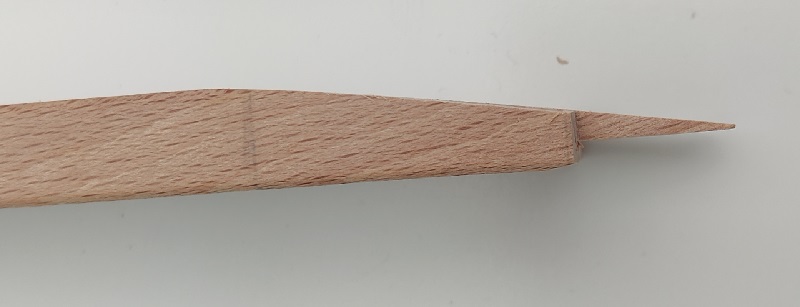
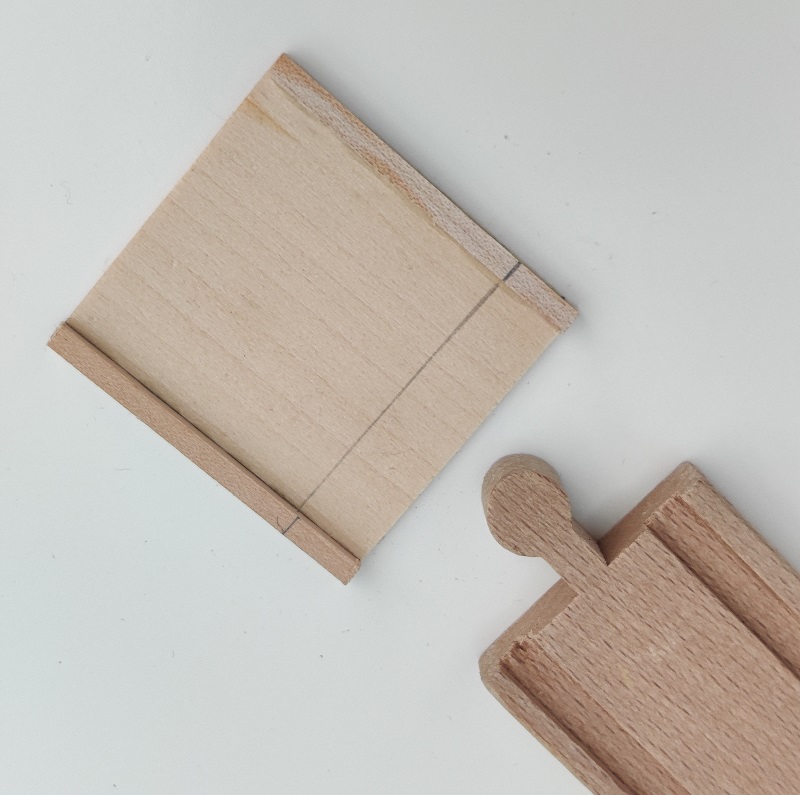
To overcome this I used two straight lengths of track (the full length ones, around 21cm ) to provide a more gentle incline and a less demanding angle as they joined the bridge. I began by cutting off one of the ends on each piece - one male end and one female. That was the easy bit. The real work was shaping the cut ends to lie neatly on the existing approach slopes.
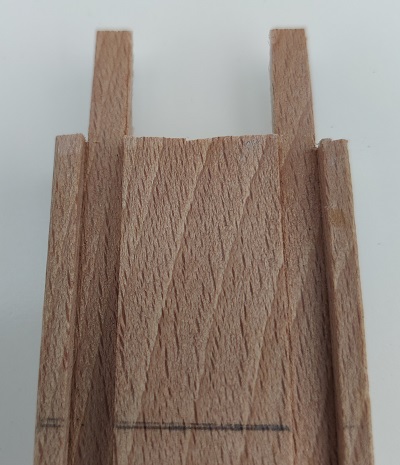
Step 2 was to make a tapered cut off the bottom of each track piece. The start of the taper was mm from the cut end. One of them I cut by hand - it needs to be held firm in a vice for this. For the other I, quite gingerly, used my table saw. Neither worked perfectly so I finished the job with my sander. The next step is to make cuts from the end of the track to leave just the sections that the wheels run along.

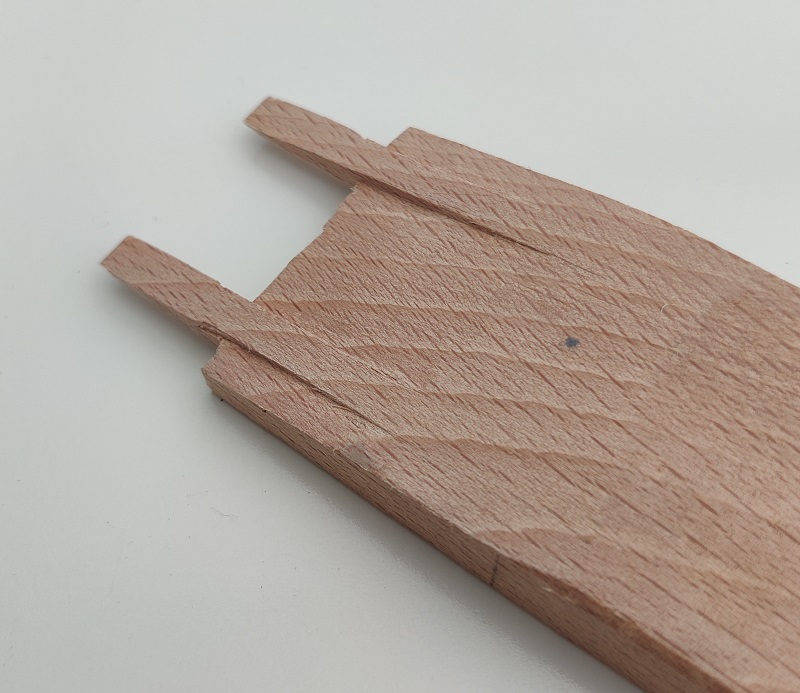
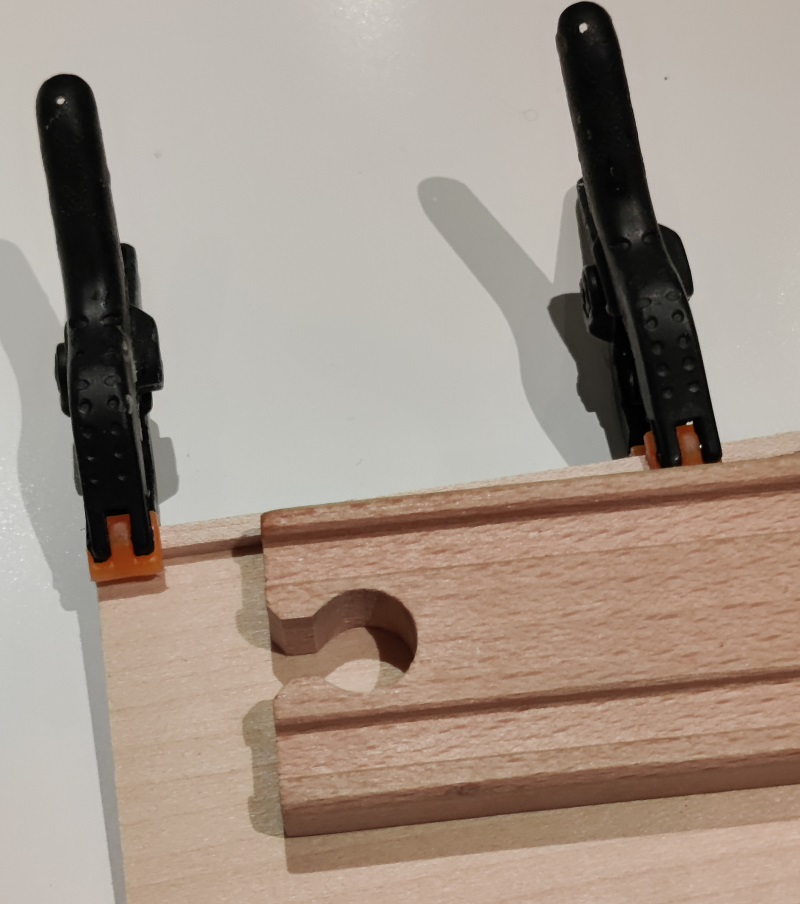
Step 4 is to further taper the sections around the track bed, onthe underside, so that the track bed on the new sections lies flat on the track bed of the original slope. A good sharp chisel is needed for this - ideally two of different sizes. Again, a vice makes the task a lot easier.

And this is the bridge with the two extra sections:
The trains now run smoothly up and over the bridge from both directions
I'm afraid there a couple more steps. The new sections have, of course, to connect on to the next bits of track. Because they hit the floor/table at an angle the joints do not quite fit. A little adjustment with a file is needed. The female socket needed the back of the hole widened a little and the male peg needed a bit taken off the bottom. That was step 5.
Step 6 is optional. As things stand the new sections are just sitting in place on the original bridge slopes by gravity. When they are part of a whole track they will be held in by the track sections at either end of the new extended bridge. But I would rather they sat a little more precisely and firmly in place. One option (probably the most secure one) would be to put a small peg into the bottom of each of the new pieces but this would involve making a corresponding hole in the up-slopes of the original bridge. Or to glue everything together. However my preference was not to damage in any way the original bridge. The solution was to make a thin base for the bridge and the new parts.
To digress for a moment I do like to use little connector pieces when helping the children make a layout. I know the (original) idea is that the joints on wooden track are left a bit flexible to enable everything to join up but my experience with children is that the track is easily knocked and displaced - especially when two or more are careering about trying to participate in the fun! To avoid this I have made lots of simple connector plates.

I start with a long strip of the thinnest wood or MDF available - typically 1/32 basswood. The brand I use is Midwest which is certainly available in the UK. The choice of wood and the thickness really doesn't matter. As close in colour to beechwood as possible is obviously nice. 1/16 is OK too as are 1 or 2mm, but the thinner the better really. The strips I have are are 3" x 24" which is a bit of a pain as I can only get one length out of each strip but Midwest is also available in 4" width which would enable two lengths. The strip is needed is (around) 48mm wide. Sorry for mixing up imperial and metric like this. I say 'around' as it depends on the width of the square sections and on the width of the track you are using. Did you realise that the different brands of track have slightly different dimensions? I have so many I'm not sure which is which but Brio is 40mm. I begin by gluing a length of small square section timber (4mm x 4mm) along one edge.


Once this is firm (and any excess glue on the inside has been cleaned up) I lay a piece of track against it and use this as a guide for laying and gluing the second square section. When the glue is fully set I can then cut the strip into short lengths. Typically around 50mm but the precise length is not critical.

If you are using 4" board this is also a useful way of keeping twin tracks parallel. It just needs one or two more lengths of the square section depending on how far apart you want the two tracks.
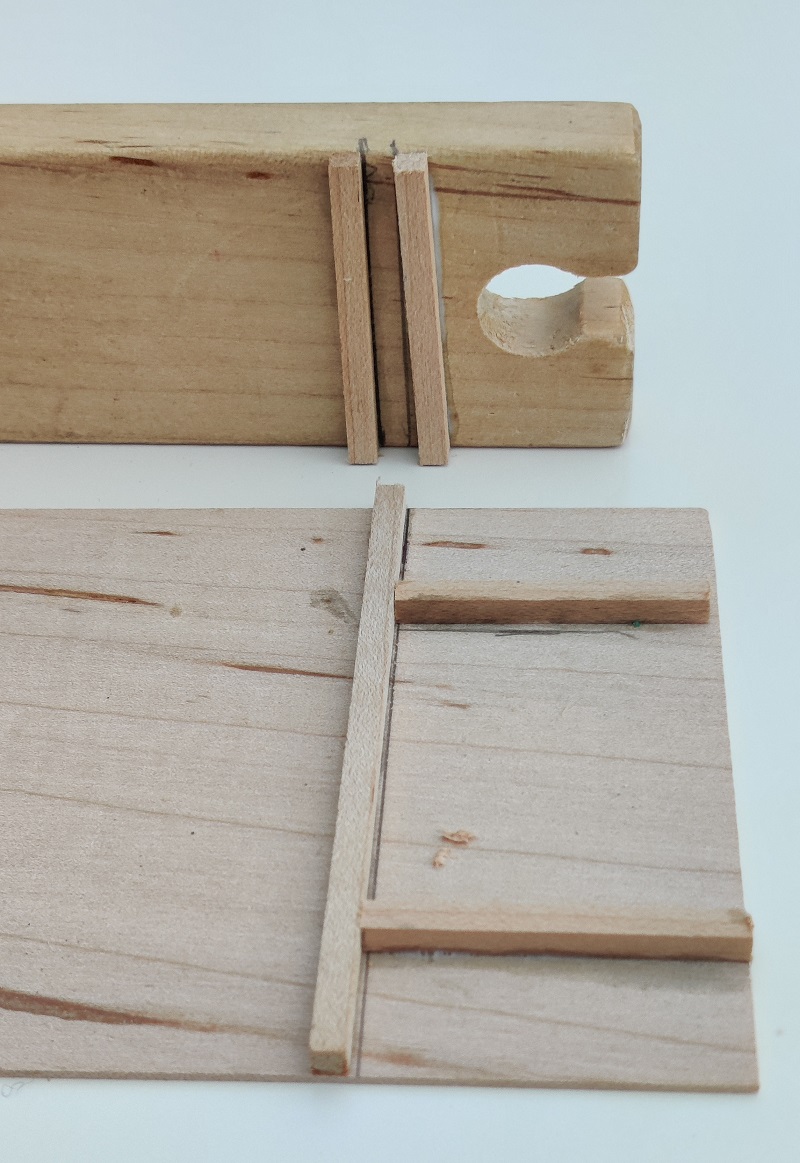
To get back to the main topic I used the same materials to make a base for the bridge, the extension pieces and the connection to the next track sections - whatever they might be. The key thing was to put a restraining strip perpendicular to the track direction and a strip onto the underside of the slope extensions to stop them pulling away from the bridge.

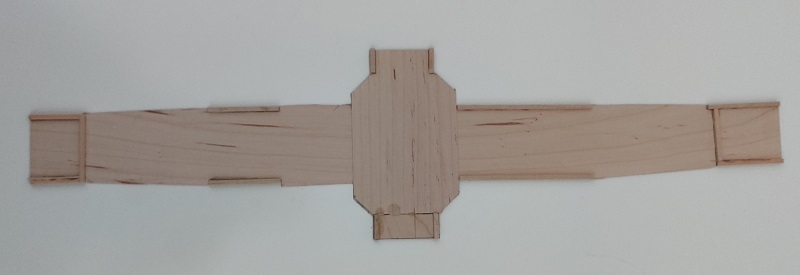
Additional strips were added to set the main bridge unit in place. The base sheet was then trimmed to size.
Was it worth the effort? It did take a bit of work but I'm retired so time is not a big issue and there were a few weeks between one visit from the kleinkinderen and the next. The truth is the bridge was not really useable on a battery powered layout as it was. Without some modification it would never have been used. So yes, I think it was worth it and am quite pleased with the result.

So what is next? Much more common than the fancy lifting bridge are simple bridge supports and the shaped ascending pieces known in Brio world as N or N1. Common as they are they are not without their problems. The subject of another article.
As always, please
e-mail
Miniature Buildings
if you have something to add. Comments, criticisms,
extra thoughts, pictures, or even complete articles
for inclusion in the Miniature Buildings site
are all welcome. Or if you would like to be added to
my mailing list to hear when a new article is published.
David, November 2023,